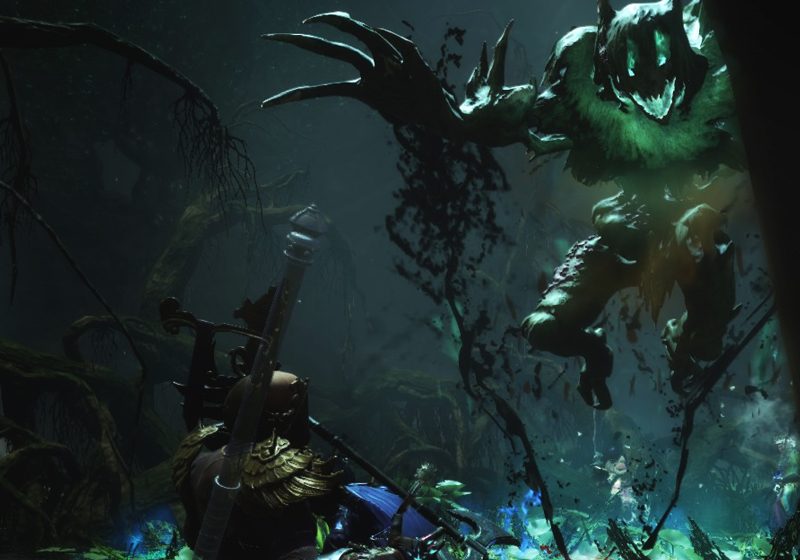
Garden of Genesis
Enemy Type: Angry Earth
Weaknesses: 30% Fire 20% Slash
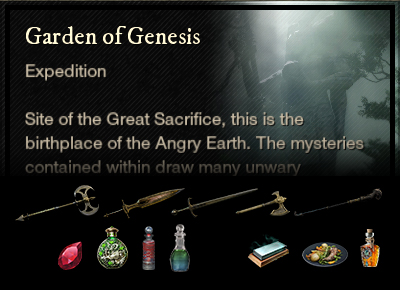
Consumables
- Angry Earth Ward potion – 10% damage absorption
- Angry Earth Coating – 15% bonus damage
- Angry Earth Combat Trophy – 3/4/5% bonus damage x3
- Slash/Fire damage – Hatchet, Axe, Great/Sword, Fire Staff
- Ruby gem in weapon for Fire damage*
Faction Missions: Caliburne in Edengrove
Note: *Elemental damage gems in your weapons are simply recommendations based on the elements your enemies are weakest to. Your playstyle may suit non-elemental gems better and you are encouraged to continue using those if so.
Dropped by The Blighted Greenskeeper.
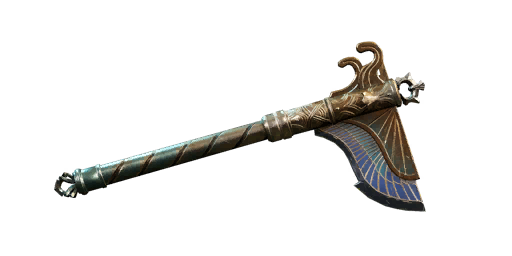
- Thrown Mastery: Thrown Axe projectiles reduce all axe skill cooldowns by 25% and will deal 25% nature damage to a nearby target (5s cooldown).
- Empty Socket: Attach a gem to add its effect.
- [skill charm] Empowering Rending Throw II: Ranged Hatchet attacks deal +35-40% damage against Rending Throw targets.
- Sundering Stacks II: Once every 0.5s, attacks inflicts a stack of 3.2-4% Rend, each stack lasting 6s. (Max 5 stacks) [Max Stacks: 1]
- Empty Offense Slot
Strategy and tips
This Garden is full of snares and Blight, so this is one time you might choose to use Powerful Incense over Desert Sunrise. Genesis is the shortest expedition and lots of players are used to speed-running it, so expect to have to keep up with your group. There’s a lot of skipping, and the boss in the secret room is rarely killed. Right at the start, you will need to collect some Concentrated Blight to unlock the first door. You can find this down the first staircase to the left, just be careful of the patrolling archer.
Main Damage Type: Strike
This fight is the most difficult in the expedition. There are two main methods of killing him, “All In” and “4 and 1“.
The Caretaker spawns in a large boggy room, all alone. He’ll jump around a bit and will slap out a long tendril at the furthest player, so be careful if you’re playing range. When you get his health down to about 70%, he’ll move to the centre of the room and start putting up a wall of thorns. This is where the group has to decide whether to stay inside the wall with him, or to go outside and deal with the adds that spawn.
All In
The All In method is a DPS check. Everyone enters the ring with the Caretaker and does as much damage as they can. A Genesis Cap mushroom will spawn – you need to destroy the first one to avoid a wipe. The person who kills the Genesis Cap will receive an Empower buff. After, he’ll start diving under the floor and emerging periodically to attack. You can just avoid the lunge by watching and moving. After 7 lunges, the Caretaker will stand up and you can fight him again. Sometimes the walls will go down and let in the adds at this point, so you have to kill him very quickly. If the group can’t kill him fast enough and ends up dying to the adds, you may need to try the 4 and 1 method.
4 and 1
This method involves sending one player (usually the tank) inside the thorn wall, while the rest remain outside. The tank needs to play defensively and also destroy the Genesis Cap mushroom when it spawns. Outside the wall, there will be three lots of adds spawn, the first one on the side near the entrance. A point will light up, indicating where the spawn is going to occur. The outside group need to kill each spawn of adds as quickly as they can, then move clockwise around the wall to fight the next group. After a period of time, the walls will come down, allowing the tank to help with any remaining enemies. The Caretaker will go into the wall phase again, this time everyone should go in and do the All In method as outlined above.
Main Damage Type: Nature and Strike
The Greenskeeper is a snake-like boss, with poison to boot. The main attacks are Strike damage, but you should be able to avoid those. The AOE poison and ranged attacks are Nature damage and it’s more likely you might be hit by these. This is a relatively easy fight, as long as you know what to expect.
- Poison Pools – if you see a stream of poison headed your way, run to the edge of the arena. A large pool of poison is about to appear at your feet, so you need to get it as far from the group as you can. Also try to avoid dropping it on boulders if possible.
- Scream – if you’re playing ranged, the Greenskeeper may send out a scream wave at you. This can be dodged.
- Projectile – she also throws three quick projectiles, which can also be dodged
- Boulder – an outline of a circle will appear on the floor at the feet of a player, just before a boulder drops. You can easily move out of the way in time if you see it. These boulders are used later, so it’s important there is room around the back. Make sure you’re not fighting at the edge of the arena, especially if you are ranged.
- Burrow – the Greenskeeper will tunnel under the ground and come up under a player. If you get hit, it does a large amount of Strike damage. It will keep tunnelling to the furthest player, so to shorten this section, the group can stand together in a Sacred Ground and block.
- The Floor is Poison – later in the fight, the floor will be covered in a wavy poison. If there is no boulder between you and the Greenskeeper, you’ll be instantly killed. Everyone should hide behind a boulder, unless you have Defy Death, in which case you can live through it.
Interesting Loot
- M3 – Blighted Growth’s Set – Light armour with Nature Harnessing and Shirking Fortification, upgradeable.
- M3 – Mossbourne weapon set for skins – Acutely Empowered, Gem Slot, Mortal Power/Blessed, Weapon Ability Perk, Random Perk.