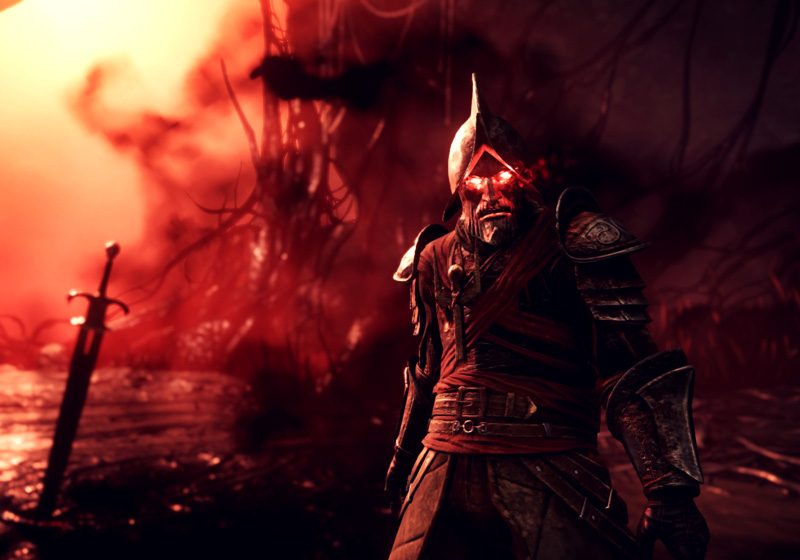
The Depths
Enemy Type: Corrupted
Weaknesses: 30% Arcane 20% Thrust 15% Nature
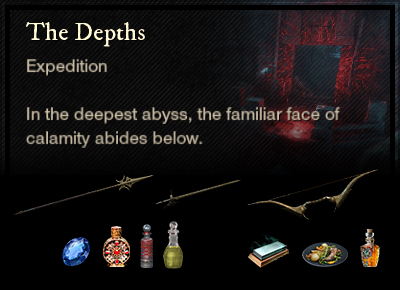
Consumables
- Corrupted Ward potion – 10% damage absorption
- Corrupted Coating – 15% bonus damage
- Corrupted Combat Trophy – 3/4/5% bonus damage x3
- Thrust damage – Spear, Rapier, Bow, Musket, Blunderbuss
- Sapphire gem in weapon for Arcane damage*
Faction Missions: Moonbay in Restless Shore
Note: *Elemental damage gems in your weapons are simply recommendations based on the elements your enemies are weakest to. Your playstyle may suit non-elemental gems better and you are encouraged to continue using those if so.
Dropped by Commander Thorpe.

- +32 Magnify (selectable attribute)
- Stunny Gaze: Taunts are active. Generate 300% more threat. Stuns last 1s longer, but base damage is decreased by 10%.
- Empty Socket: Attach a gem to add its effect.
- Purify: When you are hit while below 50% Health, you lose all debuffs (90s cooldown. Does not trigger off persistent damage, DoT effects, or blocked attacks).
- Health: Increase max health by 7% of the base value.
Strategy and tips
There are lots of teleports, trigger platforms and azoth staff nodes in this expedition, as well as a plethora of ranged enemies. Use the twists and turns to your advantage by getting out of their line of sight and forcing them to come to you.
Main Damage Type: Void
The Archdeacon begins the fight in the centre of his arena, although he can move around if players do. He summons Corrupted dogs and has a nasty Ground Wave spell that you’ll need to dodge. Try to keep the dogs in the clump so they get killed by the hits on the Archdeacon.
When he gets to about 50% life, he’ll become invincible and channel a red beam to the east side of the arena. While the Archdeacon is invincible, mines will periodically spawn and if they are not destroyed they will explode and apply Void damage to everyone in the room. If you learn the timing, you can dodge this explosion. Two DPS should step on the teleport pad, which will take them up to a platform where two mages spawn. After killing the mages, one DPS needs to use their Azoth Staff on the node so they can both return to the main arena. Azamela will resume his normal state.
At about 20% health, the Archdeacon starts channelling again, this time with an additional green beam to the west side. You need to split the group and clear each platform as soon as you can. If the dogs are clear, the healer can remain on the ground and heal each side, but usually they will go up with the tank and DPS on the green side. Surviving the bomb damage at this point is the hardest part, clear quickly, dodge if you can, and use potions carefully to stay alive.
Main Damage Type: Fire
Thorpe has been with us since the first sea voyage to Aeternum, so we should be familiar with his moves by now. His great sword does a large amount of Fire damage as well as Slash. Even when behind him, some of his moves swing back, so DPS need to be careful. When he charges, stay out of the firey trail.
Thorpe is pretty chatty and you can use his voice lines to tell what is going to happen next.
- “Ha! Pathetic!” = he goes off the tank and attacks one of the other group members
- “This will be the last time we meet” = he rises and becomes invincible while he casts a beam that spawns two behemoths. Don’t get hit by the beam and kill the adds while the tank holds Thorpe away.
- “Prepare to have your soul crushed” = aka The Big Sticky Finger. Thorpe points a beam across the room and slowly rotates. It’s pretty slow so easy enough to stay away from or you can duck under it.
- “Time to taste Corrupted Steel” = slams down his sword – don’t be too close.
- “I will crush you beneath my heel, ant!” = he summons a beam of fire and directs it at one player, leaving a circle of fire on the floor.
Interesting Loot
- M3 – Expedition Captain’s Set – Heavy armour with Strike Conditioning and Grit Ward, upgradeable.
- M3 – Gleaming Pitch weapon set for skins – split stat Con/Weapon scaling attribute, Keenly Empowered/Blessed, Weapon Ability Perk.