Depths and Tempest, Fire and Nature
- Mutation Rotation
 Landi
Landi- January 17, 2023
- 0
- 257

Time for a double dose of Corruption this week, with both The Depths and Tempest’s Heart taking their turns in the mutation rotation. If you got used to the heat last week, we have another round of Hellfire in the Depths, while Tempest has become Overgrown with nature. You can make your own choice but Depths is looking like the easier mutation this week by far.


Expedition specific
- Corruption Ward armour
- Corruption Bane weapon
- Sapphire gem Arcane damage
- Corruption Ward potion
- Corruption Coating
- Void Absorption potion
- Thrust damage – Spear, Rapier, Bow
General buffs
- Honing Stone
- Attribute bonus food
- Topaz gypsum attunement potion
Mutation specific
- Flame protection amulet
- Rubies in armour
- Desert sunrise
- Fire Absorption potion
At mutation level, The Depths is a different place than the one you visited on your journey to level 60. There’s no time to get the hidden crate in the tree anymore, it’s all go, go, go. Thrust weapons really penetrate through Corruption, so you’ll be likely to carry at least one. Spears not only have that damage bonus but also provide some strong debuffs like Perforate and if you have Enfeebling Skewer you can seriously reduce the damage to your team. Rapier offers fast damage with the bonus of constant bleeds and you can use Leeching Flurry to quickly regain your own health while robbing the enemy of theirs. If you prefer to stay out of reach, the Bow provides ranged damage and added DOT damage.

The biggest challenge in this dungeon is Archdeacon Azamela in the Unholy Pit. His bombs do Void damage, so you may want to bring a Void Protection amulet to swap out for this fight and slot Void Absorption potions in your hotbar. Thorpe, on the other hand, does Fire damage, so your mutation gear works perfectly this week. The Archdeacon’s bombs have been buffed, so you really need to get the bubbles popped on each side as fast as you can. It’s better to send everyone at once, two on each side and the healer with the weaker team, rather than try and keep up with the bombs in the second round.
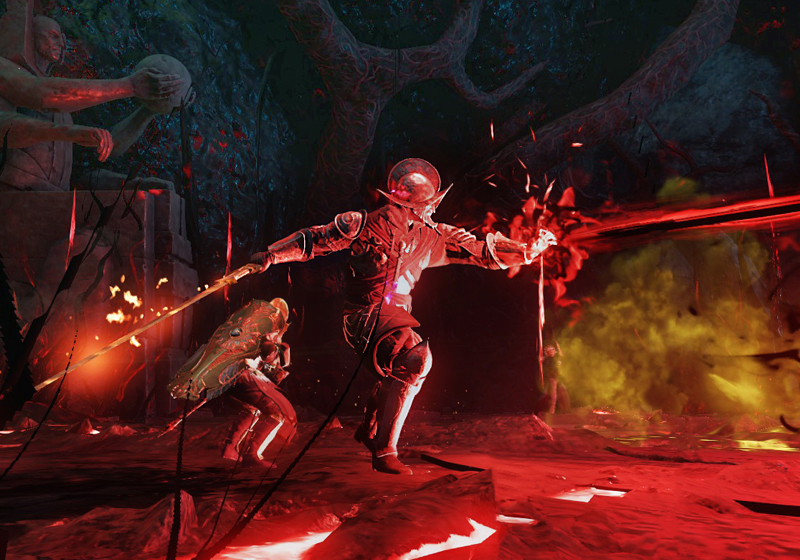
Burn baby burn, this rotation it’s Fire. At M1, we start with the basic Hellfire. Look at the enemies’ nameplates to see whether they are Explosive, and be sure to position yourself well away from edges when they die, to avoid being blown over. Fiery enemies apply Burn, giving you a Fire DOT, so it’s worth drinking some Desert Sunrise before you start. Ignited enemies deal 50% of their damage as Fire, so slot Rubies and wear a Flame Protection amulet to get your Fire resistance up. Enemies with Enflamed can cast a Burn zone on the ground, so watch your positioning. And leave the Firestaff at home, all enemies have 50-75% fire resistance.
When we get to M3, some of the mini-bosses gain Phalanx shields that block projectiles, which is particularly annoying for healers who are trying to speed up their cooldowns or charge up their heals with heavy attacks. If you play ranged DPS, make sure you have a melee weapon in your other slot and be aware that heals might be a bit less powerful. Vampiric also makes an appearance, which can make enemies slower to kill but to be honest, it’s not particularly noticeable.
The Curse of the Burning Depths is Desiccated, which is your basic dip and nae-nae. When a player gets a fire ring around them, they need to dip all team members in order to remove their Shrivel. But make sure they nae-nae away before the timer ends to avoid spiking others with a chain Fire for 50% of their max health. If you’re unlucky enough to be left shrivelled, damage and healing will be reduced by 50% until the debuff wears off.


Expedition specific
- Corruption Ward armour
- Corruption Bane weapon
- Sapphire gem Arcane damage
- Corruption Ward potion
- Corruption Coating
- Thrust damage – Spear, Rapier, Bow
General buffs
- Honing Stone
- Attribute bonus food
- Topaz gypsum attunement potion
Mutation specific
- Nature protection amulet
- Amber in armour
- Desert sunrise or Incense
- Nature Absorption potion
Tempest is the longest expedition, with a generous hour allowed to complete it. You’ll probably be using the same Corrupted gear, so either pick one mutation to specialise in this week, or put generic gems like Opals in your armour and max out your jewelry with a protection amulet and mutation specific gems.
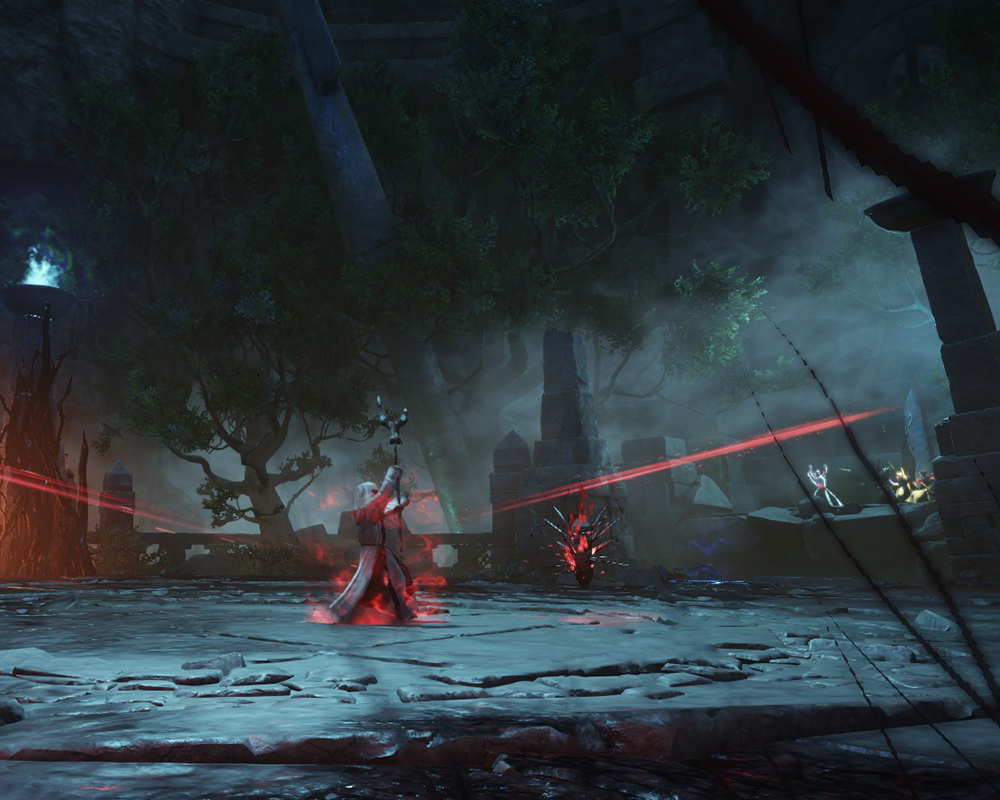
Overgrown means those mobs are going to be healing one another, which really should be a privilege exclusive to us. Compost mobs drop a healing circle that works like a Sacred Ground for them and looks a bit like one too. This is one of the rare times that disease perks are useful in PVE, so pull out your Hatchet with Infected Throw, or slot a weapon with Plagued Strikes or Plagued Crits. Your Bile Bomb heartrune will also spread disease around, so vomit away to your heart’s content.
Toxic mobs spawn THE most annoyingly friendly little green blob that follows you around, does pretty intense DOTs (20-40%), and casts an area root. We just love not being able to move and getting damaged at the same time. Best bet is to try and stay out of its way. If you get stuck, it might be worth it to have Nature Absorption potions slotted and chug one down. Arboreal enemies are dealing 50% of damage as Nature, and Bramble enemies deal 20-40% base damage as Nature when hit, so Amber slotted in your gear will protect you.
When you get to M3, Festering enemies start to appear, dealing disease against you so your incoming healing will be reduced. Remember, debuffs can be Purified in a number of ways. Slicer enemies also turn up, adding 30% base Void damage, so consider this when choosing your Gem setup.
The real trouble starts when things get Frenzied. At M6, players begin being penalised for dodging, by acquiring a stack of Unstable that does 1.5% of max health as nature damage per second for 10 seconds and cannot be cleansed. You can get up to three of these stacks. When we get to M9, 3 stacks of Unstable drops a 3m radius zone that does 10% of max health per second for 15 seconds – ouch, that’s 150% of your health if you just stand there! If you enter this zone with stacks of Unstable, it will consume them and do 30% of max HP. So, it’s really important to manage your stacks and move away from the group if you can’t avoid dropping a puddle. Don’t poop on the group.
Neishatun, of course, continues to do Fire damage, so if you feel especially vulnerable consider having a Flame Protection Ruby amulet handy and a Fire Absorption potion in your hotbar.
