For the first time in a long while, you won’t risk being blown off the balconies by fire explosions in Laz, or have to put your ice damage away in Barnacles, because we have new mutations. Yay! Although, we may end up cursing the changes after battling that toxic little green guy in Laz.


Expedition specific
- Ancient Ward armour
- Ancient Bane weapon
- Topaz gem Lightning damage
- Ancient Ward potion
- Ancient Coating
- Strike damage – War Hammer
General buffs
- Honing Stone
- Attribute bonus food
- Topaz gypsum attunement potion
Mutation specific
- Nature protection amulet
- Amber in armour
- Desert sunrise
- Nature Absorption potion
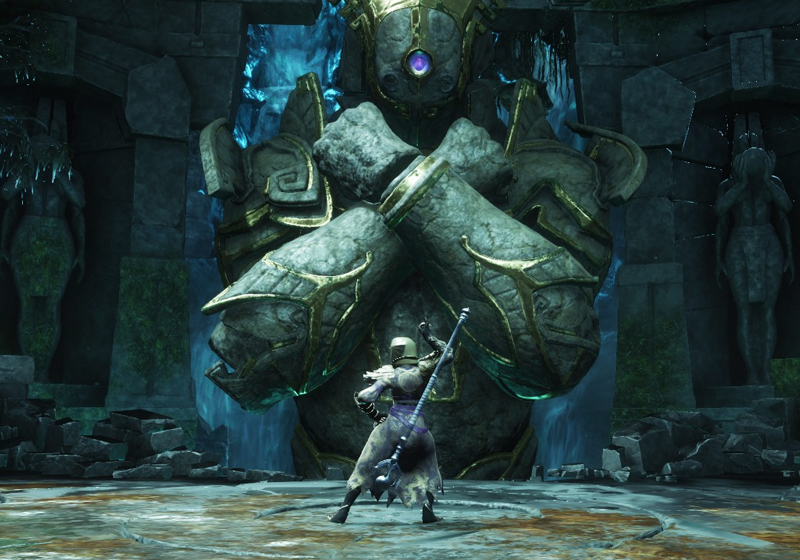
Then we have The Lazurus Instrumentality, everyone’s favorite way to build up the umbrals. As always, Ancient enemies require ancient solutions and this means Hammers! Crush those bones down, but don’t forget the utility of your secondary weapons. Every good mutation team benefits from a Spear with Perforate and a Great Axe with Grav Well to keep things running smoothly. Or any other way you can think of to weaken those enemies and buff up your friends.
Essential perks are Ancient Ward on Armour and Ancient Bane on your weapons. Topaz converts some of your damage to Lightning, which is strong against Ancients, or you might choose to slot an Emerald for those large numbers in Chardis’ final down phase. Add an Ancient Coating, Infused if you can afford it, and a Honing stone to maximise damage. Slot an Ancient Ward potion in your hotbar to scull down just as things get a bit hairy. For example, just before the first fight as you run in, so you can start off on a high note. Remember to eat an attribute food of your choice and take your Topaz if you need to collect some gypsum.
Overgrown means those mobs are going to be healing one another, which really should be a privilege exclusive to us. Compost mobs drop a healing circle that works like a Sacred Ground for them and looks a bit like one too. This is one of the rare times that disease perks are useful in PVE, so pull out your Hatchet with Infected Throw, or slot a weapon with Plagued Strikes or Plagued Crits. Your Bile Bomb heartrune will also spread disease around, so vomit away to your heart’s content.
Toxic mobs spawn THE most annoyingly friendly little green blob that follows you around, does pretty intense DOTs (20-40%), and casts an area root. We just love not being able to move and getting damaged at the same time. Best bet is to try and stay out of its way. If you get stuck, it might be worth it to have Nature Absorption potions slotted and chug one down. Arboreal enemies are dealing 50% of damage as Nature, and Bramble enemies deal 20-40% base damage as Nature when hit, so Amber slotted in your gear will protect you.
When we get to M3, some of the mini-bosses gain Phalanx shields that block projectiles, which is particularly annoying for healers who are trying to speed up their cooldowns or charge up their heals with heavy attacks. If you play ranged DPS, make sure you have a melee weapon in your other slot and be aware that heals might be a bit less powerful. Vampiric also makes an appearance, which can make enemies slower to kill but to be honest, it’s not particularly noticeable.
The first of our Fiendish curses is Weary, which starts at M6 and slows down player movement as well as increasing damage taken by 20%. This is on a timer and while you’re meant to be able to delay it by using abilities, it’s been glitchy in game so don’t rely on that.
The other curse is Blood Offering. Using abilities causes a 4.5% Nature DoT, which can stack up to 3 times, however while under the influence of Offering players also get a 25% life leech. So as long as you’re doing damage, this curse has little effect. The main person it impacts is the healer, so they may need to focus on healing themselves. Drinking some Desert Sunrise before you start the expedition should help reduce the effect.


Expedition specific
- Lost Ward armour
- Lost Bane weapon
- Amber gem Nature damage
- Lost Ward potion
- Lost Coating
- Strike damage – War Hammer
General buffs
- Honing Stone
- Attribute bonus food
- Topaz gypsum attunement potion
Mutation specific
- Flame protection amulet
- Rubies in armour
- Desert sunrise
- Fire Absorption potion
Arrrrrr me hearties, let’s get Lost and Angry. Barnacles and Black Powder is mostly full of Lost enemies like pirates and ghosties, but features a couple of angry ole tentacles and a final boss having an identity crisis. Lost Ward and Lost Bane usually suffice, but you can bring some Angry Earth gear if you want to go the extra mile. The Lost are particularly weak to Nature damage, so consider putting an Amber in your weapon. Hammers have a slight advantage but feel free to make use of the features of your favourite weapon if you prefer. Lost Ward potions can be scoffed in the big fights, or places like the ghost stack on the gold piles that can often get messy. As always, attribute food and honing stones keep you at your best.
Burn baby burn, this rotation it’s Fire. At M1, we start with the basic Hellfire. Look at the enemies’ nameplates to see whether they are Explosive, and be sure to position yourself well away from edges when they die, to avoid being blown over. Fiery enemies apply Burn, giving you a Fire DOT, so it’s worth drinking some Desert Sunrise before you start. Ignited enemies deal 50% of their damage as Fire, so slot Rubies in your armour and wear a Flame Protection amulet to get your Fire resistance up. Enemies with Enflamed can cast a Burn zone on the ground, so watch your positioning. And leave the Firestaff at home, all enemies have 50-75% fire resistance.
At M3, some enemies start being Barbarically buffed. Shattering is annoying for your tank, dealing 40-75% increased stamina damage! It might even be worth stacking more of the stamina perks to keep up. Watch out for those large Enraged enemies, who deal 50% more damage once they get 20 stacks of Fury.
The real trouble starts when things get Frenzied. At M6, players begin being penalised for dodging, by acquiring a stack of Unstable that does 1.5% of max health as fire damage per second for 10 seconds and cannot be cleansed. You can get up to three of these stacks. When we get to M9, 3 stacks of Unstable drops a 3m radius zone that does 10% of max health per second for 15 seconds – ouch, that’s 150% of your health if you just stand there! If you enter this zone with stacks of Unstable, it will consume them and do 30% of max HP. So, it’s really important to manage your stacks and move away from the group if you can’t avoid dropping a puddle. Don’t poop on the group.
The last boss in Barney’s is so annoying, she deserves a mention of her own. While she does move to a predictable pattern, her attacks become quite frenetic and she closes in the arena dramatically, leaving very little wiggle room toward the end of the fight. Legend has it that despite looking very similar to her Lost sister the Siren Queen, Nereid is of the Angry Earth with Lost weaknesses. So it might be worth swapping to Angry Earth Ward and Bane if this fight is causing a problem, but don’t be fooled into thinking your slash weapon would be stronger.