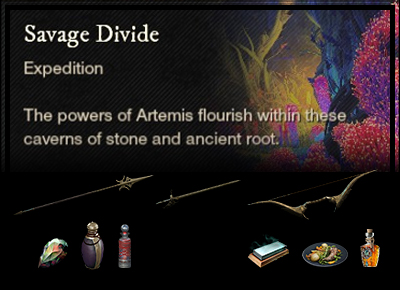
We have a nice synergy for Dynasty this week, with the Void mutation matching the Void damage from the magic pink stuff. For those whose favourite armour is filled with aquamarines for the Winter Rune Forge, your best bet is the other Forge, Empyrean with the Ice mutation, but be ready to swap your amulet for the firey bosses. Savage Divide is the final option, with the advantage of the relatively easy Dessicated curse for those who dare to venture into M3.
There are three levels of Mutation, as well as Story mode, for each Expedition.
- M1 requires 650 gear score and is relatively easy, introducing the mechanics of the mutation type at a reduced level of damage.
- M2 is a little harder and requires 675 gear score, with increased scaling and the addition of the Promotion challenges. It is still quite simple to do with an experienced group and is probably the most efficient mode, with improved loot for little effort.
- M3 requires 695+ gear score and optimised perks, gems and buffs. It is considerably more challenging than M2, both with increased scaling and the addition of the mutation Curse as well as the Promotion.
Note: Elemental damage gems in your weapons are simply recommendations based on the elements your enemies are weakest to. Your playstyle may suit non-elemental gems better and you are encouraged to continue using those if so.
Expedition specific
- Opals in Armour (elemental protection)
- Beast Ward potion
- Beast Coating
- Thrust damage – Spear, Rapier, Bow, Blunderbuss, Musket
General buffs
- Honing Stone
- Attribute bonus food
- Topaz gypsum attunement potion
Mutation specific
- Flame protection amulet
- Rubies in armour
- Desert sunrise
Artifact: Endless Thirst earring
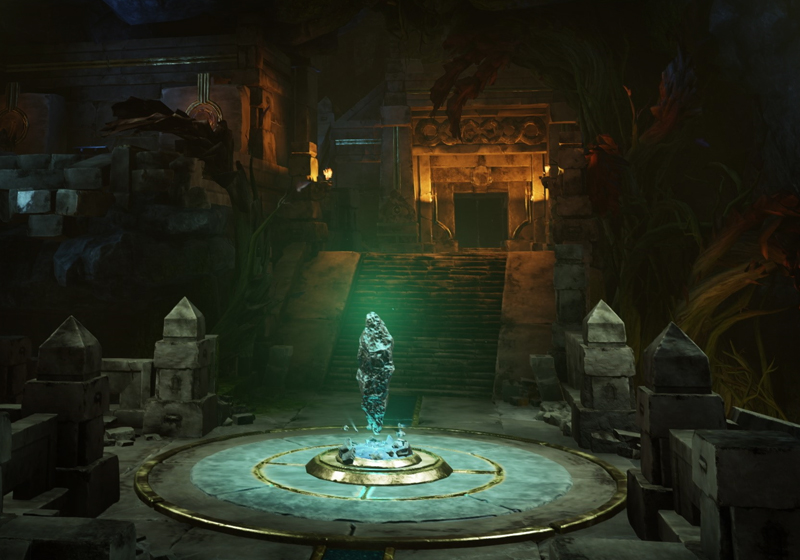
The Savage Divide is a beast-filled warren of caves, which is very easy to get confused in. Beasts have no specific elemental weakness, so feel free to use any gems your like in your weapons. Watch our for hard-hitting chameleons and annoying gorillas throwing their stuff at you. If you’re curious, you may want to see whether you can lure the mammoth Madhu down the Vast Chasm to help you find a secret.
Both boss fights focus around a range of elemental damage types, so your best bet is to keep at least some Opals in your Armour and use a Protection amulet and mutation-specific gems in your jewelry.
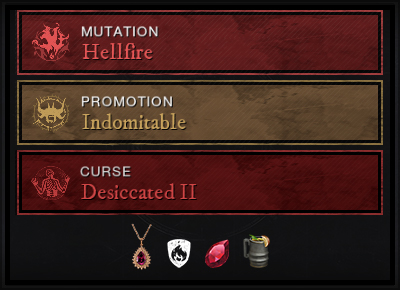
Mutation: Hellfire
Burn baby burn, this rotation it’s Fire. We start with the basic Hellfire. Look at the enemies’ nameplates to see whether they are Explosive, and be sure to position yourself well away from edges when they die, to avoid being blown over. Fiery enemies apply Burn, giving you a Fire DOT, so it’s worth drinking some Desert Sunrise before you start. Ignited enemies deal 50% of their damage as Fire, so slot Rubies in your armour and wear a Flame Protection amulet to get your Fire resistance up. Enemies with Enflamed can cast a Burn zone on the ground, so watch your positioning.
At M1 level, everything is a bit easier, so you will be fine with Opals rather than Rubies, and may not need to use Ward potions or Coatings.
M2 - Indomitable
When we get to M2, some of the mini-bosses gain Phalanx shields that block projectiles, which is particularly annoying for healers who are trying to speed up their cooldowns or charge up their heals with heavy attacks. If you play ranged DPS, make sure you have a melee weapon in your other slot and be aware that heals might be a bit less powerful. Vampiric also makes an appearance, which can make enemies slower to kill, so your Bile Bomb heartrune might be useful.
M3 - Dessicated
The Curse of the Burning Divide is Desiccated, which is your basic dip and nae-nae. When a player gets a Fire ring around them, they need to dip all team members in order to remove their Shrivel. But make sure they nae-nae away before the timer ends to avoid spiking others with a chain Fire for 50% of their max health. If you’re unlucky enough to be left shriveled, damage and healing will be reduced by 50% until the debuff wears off.

Expedition specific
- Sapphire gem Arcane damage
- Corrupted Ward potion
- Corrupted Coating
- Thrust damage – Spear, Rapier, Bow
General buffs
- Honing Stone
- Attribute bonus food
- Topaz gypsum attunement potion
Mutation specific
- Void protection amulet
- Amethyst in armour
- Desert sunrise
Artifact: The Butcher Sword
The Dynasty Shipyard we explored on our way to level 60 has become a lot more difficult, and more rewarding. Healers, in particular, can get some very nice looking loot here, and as a mutation it’s all at that higher level.
The two boss fights in Dynasty can be tricky, and it can be good to bring an off-tank to the dog fight in order to keep them separated. Empress Zhou Taiyang is as challenging as ever, so remember to stay away from her pink magic, stack the pylons against the back wall and run back to the door to fight.
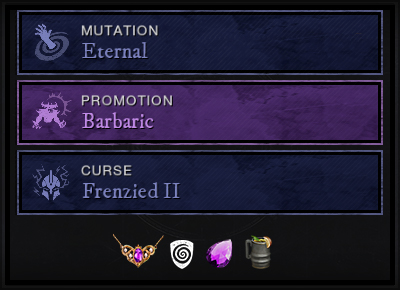
Mutation: Eternal
It’s all purple in the Shipyard this week, with the Eternal mutation transforming the enemies to Void damage, so go with the theme and protect yourself with Amethysts. Paranoia is particularly annoying, with stacks building up as you hit the enemy. When you reach 4 stacks, a purple pool appears at your feet, dealing 40-70% damage. This is easily dodged as an individual, but when the melee are crowded together, you can end up with some big spikes of pain. It might be an opportunity to try a ranged DPS team for a change, with the tank holding aggro and 3 bow users shooting from afar. Creeping enemies Empower their friends when they die and Oblivion enemies use a life leech that heals them when they hit you.
At M1 level, everything is a bit easier, so you will be fine with Opals rather than Amethysts, and may not need to use Ward potions or Coatings.
M2 - Barbaric
At M2, some enemies start being Barbarically buffed. Shattering is annoying for your tank, dealing 40-75% increased stamina damage! It might even be worth stacking more of the stamina perks to keep up. Watch out for those large Enraged enemies, who deal 50% more damage once they get 20 stacks of Fury.
M3 - Frenzied
The real trouble starts when things get Frenzied. At M3, players begin being penalised for dodging, by acquiring a stack of Unstable that does 1.5% of max health as Void damage per second for 10 seconds and cannot be cleansed. You can get up to three of these stacks, and when you do it drops a 3m radius zone that does 10% of max health per second for 15 seconds – ouch, that’s 150% of your health if you just stand there! If you enter this zone with stacks of Unstable, it will consume them and do 30% of max HP. So, it’s really important to manage your stacks and move away from the group if you can’t avoid dropping a puddle. Don’t poop on the group.
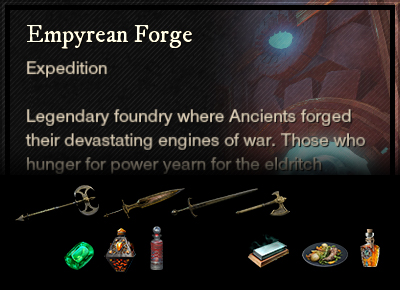
Expedition specific
- Any non-elemental weapon gem
- Human Ward potion
- Human coating
- Flame protection amulet
- Slash damage – Hatchet, Axe, Great/Sword
General buffs
- Honing Stone
- Attribute bonus food
- Topaz gypsum attunement potion
Mutation specific
- Frozen protection amulet
- Aquamarine in armour
- Desert sunrise
Artifact: Inferno Fire Staff
The Empyrean Forge is a fire-themed mountain stronghold, with mechanical puzzles and giant gears and pistons. The majority of enemies are Human Varangians, but there are also quite a few Lost ghosties around. Our advice is to stick with Human Ward, the Lost are not significant. Slash weapons are strong, but there is scope for a wide range of character builds here. An interesting feature of the humans is they use weapons just like us and have similar moves. However, they don’t seem to be governed by the same cooldowns!
As you might expect from a Forge, there is quite a lot of fire around so you might either consider splitting your elemental protection, or using the new gear sets to swap out your setup for the boss fights. At the very least, a Fire Protection amulet will come in handy.
The first boss, Ifrit, is a fiery scythe-wielding worm-type boss who likes to throw his flames about. There are a few mechanics to watch out for, but once you have these down he’s not too bad. He stays in the middle of the room, rather than burrowing like some other worms we know. You can avoid the fiery space invaders by going prone, just make sure the floor is clear when you do. When he starts to project lines of flames, run anti-clockwise around him with them. The closer you are to him, the easier this is. Just don’t get burnt!
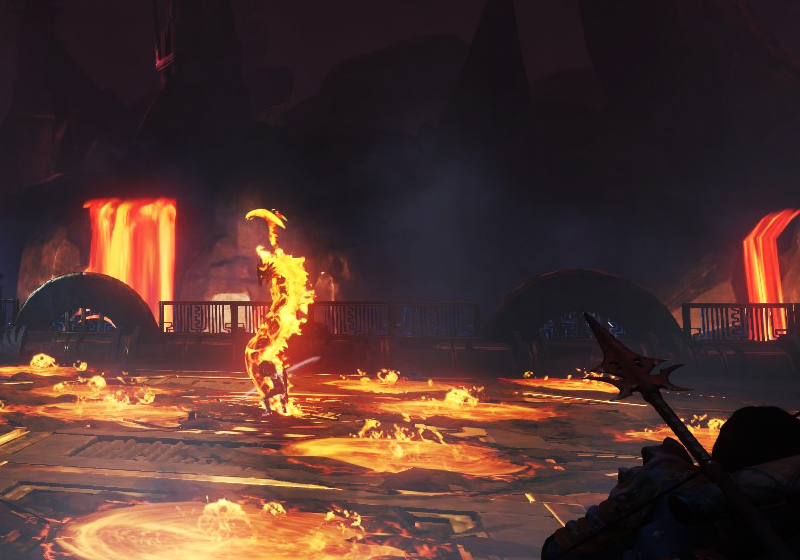
Commander Marius is the final boss and he also likes his fiery tortures. At some points during the fight, the floor is literally lava. Thankfully, there are some safety platforms provided in the corners of the room, just watch out if he joins you on them or drops a giant fiery meatball. For the DPS, ranged attacks allow you to stay out of reach from his heavy hitting AoE, so it might be worth considering a bow or magic weapon.
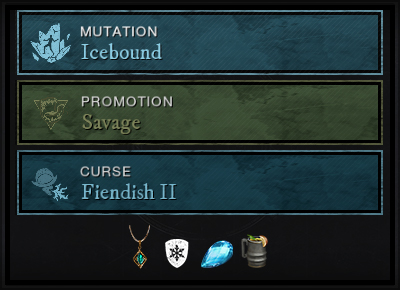
Mutation: Icebound
Ice, Ice, Baby! Everything slows down in the cold and this mutation is no exception. We start with Icebound, which means all enemies are dealing Ice Damage, so pull out your Aquamarines and Frozen Protection amulet. Most annoying is Shiver, a zone of exclusion that bites anyone who is outside of it, which keeps the group huddled up together. Be careful of enemies with Glacial, as they will drop a crystal that can root you in place. To prevent this, you need to destroy or run away from the crystal, depending on where it is positioned.
At M1 level, everything is a bit easier, so you will be fine with Opals rather than Aquamarines, and may not need to use Ward potions or Coatings.
M2 - Savage
When you get to M2, Festering enemies start to appear, dealing disease against you so your incoming healing will be reduced. Remember, debuffs can be Purified in a number of ways. Slicer enemies also turn up, adding 30% base Void damage, so think about diversifying your protective gems in this mutation.
M3 - Fiendish
The first of our M3 curses is Weary, which slows down player movement as well as increasing damage taken by 20%. This is on a timer and while you’re meant to be able to delay it by using abilities, it’s been glitchy in game so don’t rely on that.
The other curse is Blood Offering. Using abilities causes a 4.5% Ice DoT, which can stack up to 3 times, however while under the influence of Offering players also get a 25% life leech. So as long as you’re doing damage, this curse has little effect. The main person it impacts is the healer, so they may need to focus on healing themselves. Drinking some Desert Sunrise before you start the expedition should help reduce the effect.