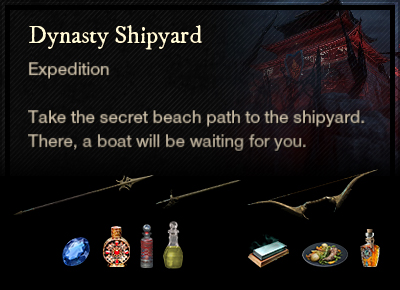
Dynasty Shipyard
Enemy Type: Corrupted
Weaknesses: 30% Arcane 20% Thrust 15% Nature
Consumables
- Corrupted Ward potion – 10% damage absorption
- Corrupted Coating – 15% bonus damage
- Corrupted Combat Trophy – 3/4/5% bonus damage x3
- Thrust damage – Spear, Rapier, Bow, Musket, Blunderbuss
- Sapphire gem in weapon for Arcane damage*
Faction Missions: Fortune’s Crossing in Ebonscale Reach
Note: *Elemental damage gems in your weapons are simply recommendations based on the elements your enemies are weakest to. Your playstyle may suit non-elemental gems better and you are encouraged to continue using those if so.
Dropped by Zhou Taiying.
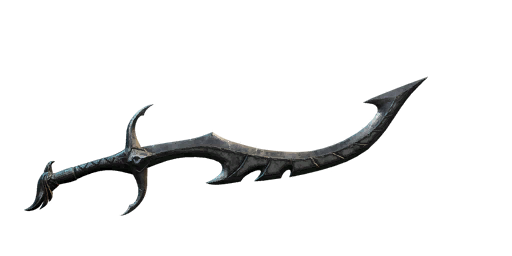
- +38 Magnify (selectable attribute)
- Hemorrhage: Bleeds lasts 33% longer (Works on both weapons).
- Jagged Whirls: Whirling Blade inflicts bleed, dealing 10% weapon damage for 6s.
- Empowering Whirling Blade: If 2 or more enemies are within its radius while performing a Whirling Blade attack, gain 24% base damage for each nearby target (Max 5 Targets).
- Keenly Jagged: Inflicts Bleed on critical hit, dealing 10% weapon damage per second for 6s (7s cooldown).
Strategy and tips
Be careful of the pink elemental Void attacks from maidens and mages, and either block or dodge out. A ranged weapon can be useful in here. Enemy muskets are also quite annoying, so either bring the fight to them or stand out of their line of sight so they come to you.
Main Damage Type: Slash and Void
Isabella begins this fight, leaping around and running away as usual. She has a range of physical damage types, so the tank may be best off with some Onyx and a Slash protection shield, while everyone else needs to just stay out of her reach. She will also spawn three abominations, which are pretty easy to kill.
At about 75% health, Isabella will fly toward the boats and canons will shoot from the distance. The group can huddle up next to the eastern dog cage to prevent the canon fire from landing on them, then go and resume the fight. Canon fire will continue, so make sure you’re not standing in it.
Just before she gets to half health, Isabella gets tired of fighting and opens two of the cages in the room to reveal Oro and Joven, her pet tigers. There are a few strategies for this part of the fight, including allowing the tank to hold one dog while the rest fight the other, or having a DPS play an off-tank for the second dog. This can easily go wrong, however, so you may want to get the group to stand over by the west-side dog and get the tank to grab both of them. That way, AOE attacks will hit both enemies, killing them faster. The dogs do Slash damage and watch out for them jumping back and doing a Void breath attack, catching DP who had been standing safely behind.
Main Damage Type: Void
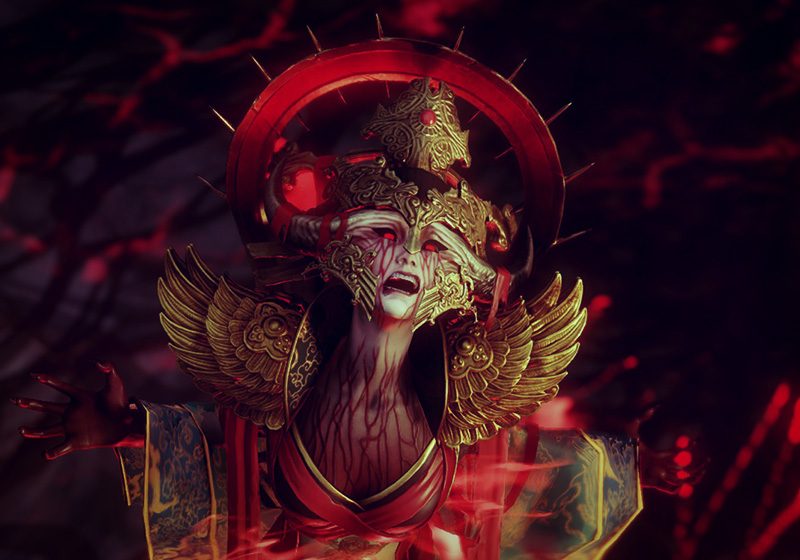
Empress Zhou’s moves are mostly telegraphed by particle effects, so once you get to know these, you can react in time to avoid them.
- Small particles rising from the floor = Dragon Breath – only hits in front, so just dodge to the side.
- Small particles on the floor radiating out from her = Corruption Wave – dodge into the wave.
- Small particles spinning in a small and wider circle around her = Dragon Circle – if you have grit, you can stand inside, otherwise block.
- Points to a player = Dragon Dive Solo – she will shoot a dragon at you, so move!
- Multiple perpendicular pink lines – Dragon Dive – Dragons will shoot out along those lines and follow players, just step to the side and avoid them.
At about 60% health, the Empress will take a break and summon two waves of trash mobs, plus two pillars. These pillars can also perform her magic spells. Kill the mobs only, then everyone should stack at the East wall of the arena. Zhou will throw 3 more pillars and we want these at this end. Do not kill the pillars. Once all pillars are thrown, everyone should run to the West end to finish the fight.
Interesting Loot
- M3 – Empress Zhou’s Set – Light armour with Health and Refreshing, upgradeable.
- M3 – Harbinger weapon set for skins – split stat Con/Weapon scaling attribute, Enchanted/Purifying Breeze, Weapon Ability Perk.