Empyrean Forge
Enemy Type: Human
Weaknesses: 15% Slash
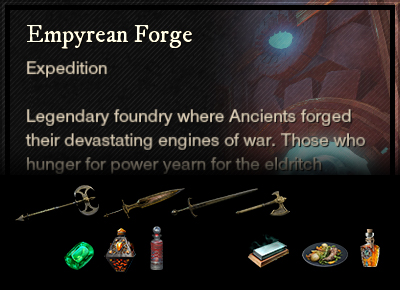
Consumables
- Human Ward potion – 10% damage absorption
- Human Coating – 15% bonus damage
- Human Combat Trophy – 3/4/5% bonus damage x3
- Slash damage – Sword, Greatsword, Hatchet, Great Axe
Faction Missions: Warden’s Rise in Great Cleave
Dropped by Ifrit.
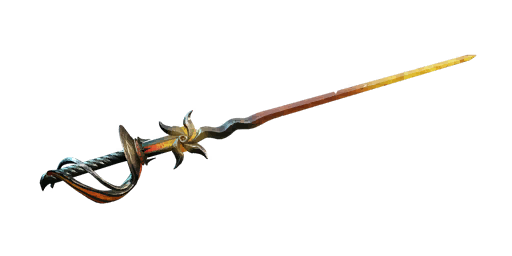
- Lava Tip: Heavy melee attacks on both weapons cause 10% burning for 6s (Max 3 stacks). Hitting with a melee ability will consume the burn inflicted targets dealing 80% of the remaining damage immediately.
- Empty Skill Slot
- Trenchant Strikes II: Heavy melee attacks deal +12-15% damage.
- Distained Infliction II: Potency of outgoing DoTs are increased by 12-15%. Hitting a target inflicted by your DoTs will extend the duration of them by 3.9% (1.5s Cooldown) [Max Stacks: 1]
- Empty Offense Slot
Dropped by Commander Marius.
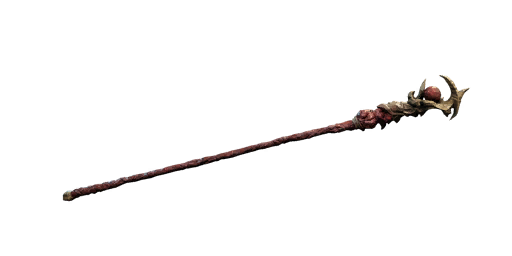
- Inner Power: This staff has adjusted attributes scaling. It now has dual scaling with both strength and intelligence. +15% damage when you hit a target within 15m. (Works on both weapons)
- Empty Socket: Attach a gem to add its effect.
- [offense charm] Keenly Empowered II: Gain 10-13% Empower for 5s on critical hit (10s cooldown). [Max Stacks: 1]
- [offense charm] Vicious II: +2.4-3% critical damage. [Max Stacks: 5]
- Empty Offense Slot
Strategy and tips
The main thing you should know about the Empyrean Forge is that you need to have your music turned on. The soundtrack for this expedition is so perfectly tuned to the environment that it would be a crime to miss it. The Forge is also the first expedition to drop two artifacts, one from each boss.
As you might guess from the name, Empyrean Forge is full of Fire damage, so it might be worth slotting your extra resistances in Fire. As well as the human Varangians, there are a few Lost enemies, but not enough to justify changing up consumables. Common pitfalls include falling in lava and getting crushed by giant pistons, so watch your step.
There is a puzzle to solve in the first section of the expedition and near the end. If you only stand on the trigger plate once, the code will be the same for both versions of the puzzle. This means you can make the second puzzle room much easier. Take the upper path and preload the sequence except for the last turn. Then send someone down to stand on the plate, and do the final rotation. This will stop the ghost spawns and make the Blunderbuss Mini Boss fight much easier.
Main Damage Type: Fire
Ifrit was originally going to be Lost but was then changed to Human due to feedback from the player community. He has unique weaknesses – 30% Arcane and 20% Ice so a weapon with a Sapphire in it, or an Ice Gauntlet may be helpful here.
The first time you fight Ifrit the myriad fire attacks feel chaotic but once you get to know them, the mechanics of this fight are predictable and easy to manage. Ifrit does not move from the centre of the arena, except to bend forward and bop someone if they get aggro from a distance.
Positioning is important in this fight, and no-one should be at the far edges of the room, so they don’t get caught in the Flamethrower. The tank should stand to one side of Ifrit, allowing the party to see the SE wall so they know when Fire Discs are emerging.
- Fire Discs: multiple discs of fire shoot out from the SE end of the arena. You can dodge these or even lie down beneath them if you’re nimble.
- Fire Balls: a large yellow sigil will appear on the floor at your feet indicating the imminent arrival of a fireball from the sky so that you can move out of the way. The impact will leave a crater of lava that does fire damage if you stand in it.
- Slam: a cross of fire will appear on the floor beneath Ifrit, indicating that he is about to slam four ways. Just stand on the diagonal to avoid it.
- Flamethrower: Fire walk with me. Ifrit will extend 2 beams of flame that extend to the edges of the room, in front and behind and then rotate anti-clockwise. You need to follow the flamethrower’s rotation to avoid being hit by it. The further away from the centre you are, the faster you have to run, so it’s important to be closer to the middle of the arena. This will be repeated and then followed by a double flamethrower, with 4 beams extending in a cross. By this time, the floor will most likely be covered in lava pools. While you should avoid as much fire as you can, if you have the choice between the flamethrower and a lava pool, walk in lava.
Main Damage Type: Fire
This is another trial by fire and you should swap into a Flame Protection amulet before stepping into the arena. First of all, make sure you touch the respawn crystal just outside the door, as this fight can go south quite easily and you don’t want to have to do the long run of shame.
The arena is quite small and has three raised platforms, with short corridors extending from the main central space at the lower level. You will need to keep moving but remain aware of the different spaces and how you can use them to your advantage. The fight goes more smoothly if you have a tank who will maintain a position instead of chasing Marius around, but either way, everyone needs to keep on their toes during this fight.
- Bungie Boss: periodically, Marius will spin away from the tank toward a DPS and then spin back. This is a dance move and not loss of aggro, so there is no need to freak out. Just dodge, whether you are the target or not, as he will spit firey sparks during the spin that cause a Fire DoT.
- Execute: Marius will do a large melee smack down with his Greataxe. You can’t block this but you can just step to the side and avoid it. Melee DPS need to be careful of their positioning.
- Volcanos: (or Pimples, as we call them) – Eruptions of fire will emerge from the floor throughout the arena, particularly under the feet of players. Move to avoid a nasty Fire DoT.
- Floor is Lava: Marius will go to the centre of the room the first time this happens, and raise his flaming axe slowly into the air. The lower section of the floor will fill with lava, leaving only the three platforms as safe zones. With enough fire resistance, this is not too much of a problem.
- Magmaballs: At around 50% health, Marius will start dropping his large, hot balls. This will start on the SE platform (to the right of the entrance) and continue to each platform in an anti-clockwise rotation. A large fire ring will appear on the floor to show you a ball is about to drop, then it will roll to the opposite wall. Each corner of the short corridors, just outside the ball drop radius, is a safe zone where the balls cannot hit you. At about 25% health, 2 balls will drop at once, so be very careful about where you are standing.
Interesting Loot
- M3 – Fire Lord’s Set – Heavy armour with Fire Harnessing and Enchanted Ward, upgradeable.
- M3 – Molten weapon set for skins – Acutely Empowered, Gem Slot, Desperate Empower/Savior, Weapon Ability Perk, Random perk.
- Powerful Beasts of Burden Bangle – Mount charm – Enables mounting when 30% overencumbered